Overview
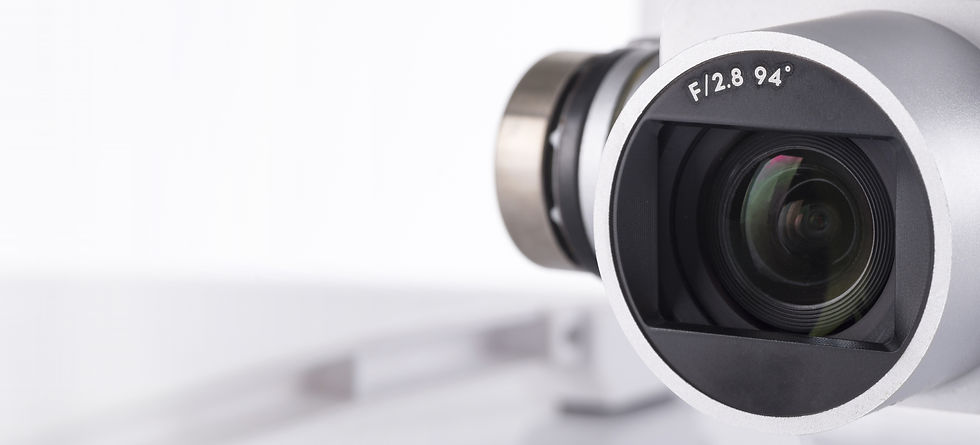
All cameras on the market have exposure settings, from your expensive DSLR to the camera on your phone. A drone camera is no different, after all it is still a camera, albeit a camera that operates in a 3D space...
Exposing an image correctly is imperative to collecting high quality data, so what are the exposure settings?
Exposure settings of a camera, as the name implies, control the camera's overall exposure to light. Generally speaking, on a dull day, you would want more exposure (more light entering the drone's camera) and on a bright day, you would want to limit this exposure.
In this tutorial we will show you how to set exposure settings in the Hammer App once you are connected to your Drone.
Video Tutorial
We have produced a short video on How to set 'Exposure Settings in the Hammer App' please see below:
Tutorial
1. Open the Hammer App and open the mission file you are working on.
In this example, we will be opening 3D

2. There are several ways to get to the 'Camera' option so that we can adjust
the exposure settings.
Option 1
Select the settings icon on your planned mission, highlighted here in red.

Scroll down on the settings panel until you reach 'Drone Settings'

Open 'Drone Settings' and you will be presented with an advanced menu with some familiar drone settings, for example, Go Home Height (RTH), Go Home Battery and Max Altitude. Camera settings is highlighted in red.

Option 2
You can jump straight to the 'Drone Settings' option by selecting the wrench icon in the bottom right corner of the screen, highlighted below in red.

This will open the 'Drone Settings' page and you will be able to access the camera settings directly, highlighted below in red.

3. Once the 'Camera' option has been opened you will be presented with yet another
menu, here you will find the camera settings.

4. 'Exposure Mode' at the top of the screen gives you option to change how the exposure
is set, by clicking exposure mode you are given several options on how you would like
to set the exposure, highlighted below in red.
These options are:
Auto
Aperture Priority
Shutter Priority
Manual

5. Selecting any of these options will enable you to change the values with in 'Shutter
Speed', 'Aperture', 'ISO' dependant on how you would like to set the exposure.
The example below shows changing the 'Shutter Speed' whilst in 'Manual' exposure
mode.

And that is how you Set Exposure Settings in the Hammer App
Having the ability to manage and change your exposure settings from within the Hammer App is very important as one of our previous posts explains...
Summary
In this guide we looked at how to setup exposure settings for your drone.
If you'd like to learn more about how to produce high quality data and the get the most out of your drone missions, please feel free to visit our learning resources.
If you haven't got a Hammer account as yet, and would like try Hammer Missions you can get started on our free trial.
To learn more about our enterprise solutions, including mission collaboration, data processing and AI solutions, please contact us at team@hammermissions.com.
We look forward to hearing from you.
- The Hammer Team
